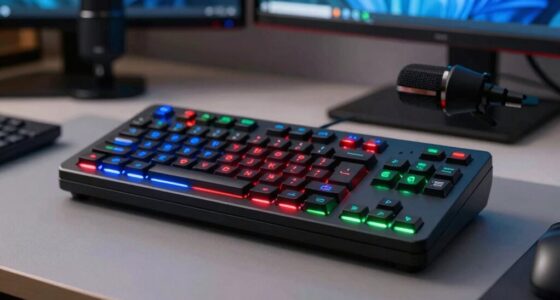

To build a fast-publishing audio setup, start by soundproofing key areas like doors, windows, and walls with foam panels or heavy curtains to minimize noise. Position your microphone 6-12 inches from your mouth, slightly off-axis, and use pop filters for clarity. Incorporate acoustic treatments like diffusers or soft furnishings to reduce echo. Arrange your equipment and furniture strategically to cut reflections and noise. Keep experimenting with setup tweaks, and you’ll quickly improve your audio quality—more tips await if you keep exploring.
Key Takeaways
- Use portable, easy-to-setup soundproofing solutions like foam panels and heavy curtains to quickly reduce noise.
- Select a compact microphone with adjustable placement for flexible, fast setup.
- Optimize your room with simple acoustic treatments, such as rugs and bookshelves, to improve sound quality rapidly.
- Position equipment strategically to minimize reflections and background noise for clearer recordings.
- Keep essential gear organized and ready to streamline the setup process for quick publishing.
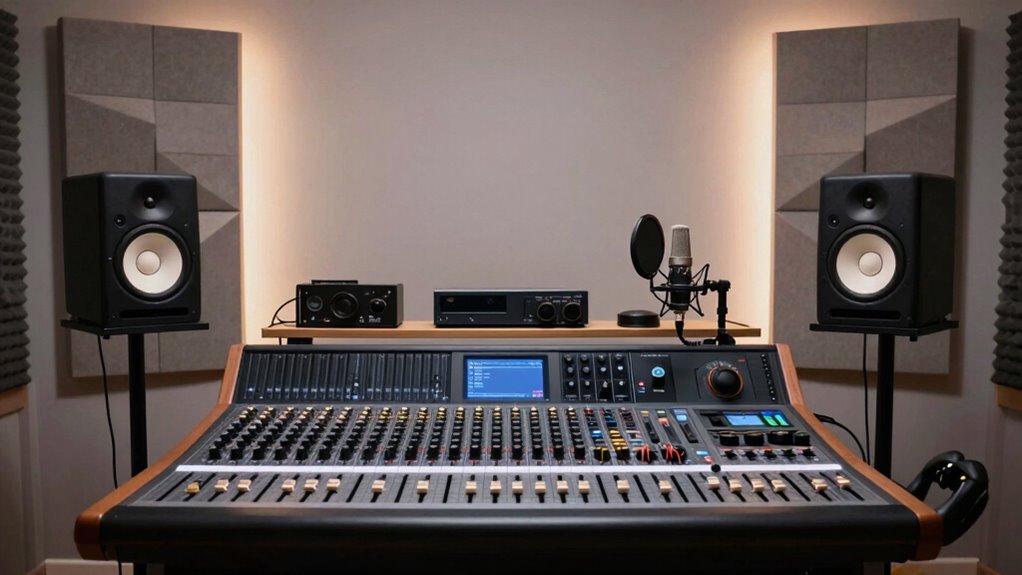
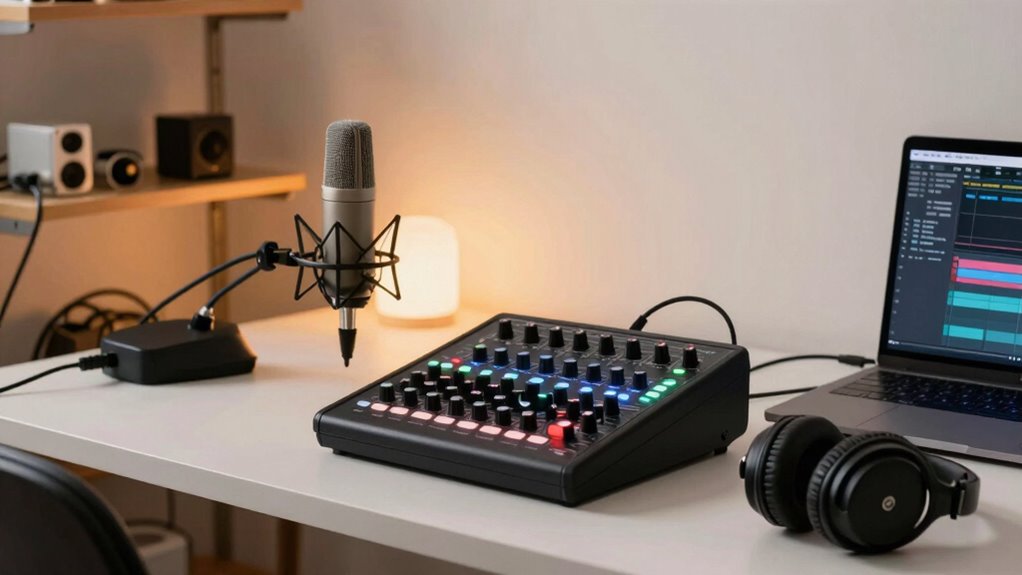
Building a quality audio setup might seem intimidating, but with the right approach, you can create a system that delivers clear, immersive sound. The first step is understanding that soundproofing techniques are essential to prevent unwanted noise from seeping in or out. You don’t need to soundproof an entire room—just focus on key areas like doors, windows, and walls. Use foam panels, heavy curtains, or even DIY solutions like blankets to absorb echo and reduce background noise. These measures help create a controlled environment where your audio can shine, making it easier to record or stream without distractions. Once your space is soundproofed enough, pay close attention to microphone placement, which has a significant impact on your audio quality. Position your microphone close to your mouth, ideally about 6 to 12 inches away, and slightly off-axis to minimize plosive sounds and harsh sibilance. Experiment with angles and distances until you find the ideal spot that captures your voice clearly without picking up too much room ambiance or background noise. Remember, the goal is to get a balanced, natural tone while reducing reflections and echoes. Additionally, understanding your system’s capacity and watt-hour rating can help ensure your equipment runs smoothly without power interruptions. Proper microphone placement involves not just distance but also orientation; angle the microphone to avoid capturing unwanted sounds from your keyboard, mouse, or other noisy equipment. Use a pop filter or windscreen to further improve sound quality by reducing plosive sounds that can distort your audio. Additionally, considering acoustic treatments like bass traps or diffusers can significantly enhance sound clarity. Incorporating soundproofing materials into your environment can further minimize external noise and improve overall recording quality. A well-optimized environment can also help reduce auditory defensiveness, making it easier to focus on your recordings. Furthermore, optimizing your room acoustics by adjusting furniture placement and using soft furnishings can greatly improve sound quality. Moreover, consider the placement of your speakers or headphones to prevent audio bleed and ensure you’re hearing an accurate representation of your recordings. Beyond placement, focus on your recording environment’s acoustics. Soft furnishings, rugs, and bookshelves can help diffuse sound and minimize echo. If you’re using a desk or table, positioning it away from reflective surfaces can make a difference. Also, controlling your room’s humidity and temperature can reduce static and unwanted noise. When you combine soundproofing techniques with strategic microphone placement, you set yourself up for professional-sounding audio, whether you’re streaming, podcasting, or recording music. Keep experimenting with your setup until it feels right—small adjustments can lead to significant improvements. With patience and attention to detail, you’ll build an audio setup that captures your voice perfectly and is ready for fast, high-quality publishing.

54 Pack Sound Proof Foam Panels |12"×12"×1" Quick-Recovery Soundproof Wall Panels | High Density Sound Dampening Panels for Home Studio |With Adhesive Stickers 270PCS
Superior Acoustic Treatment: These sound-absorbing foam panels effectively dampen echoes and reverberations for enhanced audio clarity and quality
As an affiliate, we earn on qualifying purchases.
As an affiliate, we earn on qualifying purchases.
Frequently Asked Questions
What Is the Ideal Budget for a Fast Publishing Audio Setup?
Your ideal budget for a fast publishing audio setup depends on your goals, but generally, starting around $300-$500 is smart. Focus on budget planning and equipment prioritization by investing in a decent microphone, audio interface, and headphones first. Save on less critical gear initially, then upgrade as your needs grow. This way, you get quality essentials without overspending, ensuring quick setup and reliable performance.
How Do I Choose the Right Microphone for Quick Setup?
Imagine you’re setting up quickly for a podcast, like Sarah did. She chose a dynamic microphone for its sound isolation and durability, perfect for her busy environment. When choosing a microphone, consider microphone types—dynamic for sound isolation and durability, or condenser for studio quality. For fast setup, pick a plug-and-play model with minimal cables. Focus on microphones that are easy to position and deliver clear sound quickly.
What Software Is Best for Fast Audio Editing and Publishing?
You should choose user-friendly software like Adobe Audition or Audacity for fast audio editing and publishing. These tools enable advanced editing and audio optimization, allowing you to quickly clean up recordings, apply effects, and export polished files. They also support batch processing, saving time on repetitive tasks. With intuitive interfaces, you can streamline your workflow and get your content ready for publishing in minimal time.
How Can I Ensure Consistent Audio Quality Across Sessions?
Think of your audio setup as a well-tuned orchestra, where every instrument plays in harmony. To guarantee consistent audio quality across sessions, focus on session calibration and regular checks. Use reference tracks and consistent microphone placement, and keep your audio levels steady. Implement preset settings for your equipment, and review recordings to catch and correct discrepancies. This keeps your audio consistency sharp, no matter how many sessions you run.
What Are Common Troubleshooting Tips for Rapid Audio Setup?
When troubleshooting rapid audio setup, start by checking your audio equipment connections for loose or faulty cables. Make certain sound calibration is accurate, as it affects audio clarity. Test your microphone and speakers, adjusting levels as needed. If issues persist, reboot your devices and update drivers or firmware. Keep a checklist handy to quickly verify each component, and consider having backup equipment ready to minimize downtime during your fast publishing sessions.

InnoGear Microphone Stand, Tripod Boom Arm Floor Mic Stand Height Adjustable Heavy Duty with Carrying Bag 2 Mic Clips 3/8" to 5/8" Adapter for Singing Podcast for Blue Yeti Shure SM58 SM48 Samson Q2U
Adjustable Height & Solid: The height of the microphone stand with boom arm is adjustable from 28.1 inches…
As an affiliate, we earn on qualifying purchases.
As an affiliate, we earn on qualifying purchases.
Conclusion
Think of your audio setup as a finely tuned orchestra. When each instrument—your microphone, mixer, and speakers—works in harmony, your content flows seamlessly, capturing attention like a mesmerizing melody. Keep tuning and tweaking your gear, and you’ll craft a symphony of sound that’s ready to publish at a moment’s notice. With patience and precision, your setup becomes a powerful instrument, turning your ideas into an engaging performance every time.

Aokeo Professional Microphone Pop Filter Mask Shield For Blue Yeti and Any Other Microphone,Mic Dual Layered Wind Pop Screen With Flexible 360° Gooseneck Clip Stabilizing Arm
Double Layered Screen Pop Filters:The first screen blocks air blasts as any pop filter normally would; The gap…
As an affiliate, we earn on qualifying purchases.
As an affiliate, we earn on qualifying purchases.

TroyStudio Bass Traps – 12 Pcs 4 X 4 X 12 Inches Dense Thick Studio Bass Foam Corner, Acoustic Treatment Panel Absorbing Echo Reverb, Low Frequency Sound Absorber for Music Room Home Recording Studio
【SPECIFICATION】: Dimensions – 4 X 4 X 12 inches, pack of 12; Light Weight – 0.07 lbs per…
As an affiliate, we earn on qualifying purchases.
As an affiliate, we earn on qualifying purchases.